Every developer resizes images. Shrinking a screenshot for docs, generating app icons at a dozen sizes, preparing thumbnails, fitting a hero image under a byte budget. Most people reach for the first "resize image online" result and paste in whatever they have, including ID scans, product mockups, and internal dashboards. This guide explains how an image resizer actually works, which resampling algorithm produces the sharpest result, how to resize images in code, and how to do all of it locally so your files never touch a stranger's server.
An image resizer changes the pixel dimensions of an image. That sounds trivial, and the UI usually is: type a width, type a height, click a button. What happens underneath is where quality is won or lost. Resize the wrong way and you get soft, blocky, or distorted output. Resize the right way and a 4000px photo becomes a crisp 400px thumbnail that looks intentional.
Table of contents
- What an image resizer actually does
- Resampling algorithms compared
- Aspect ratio: the math that prevents distortion
- Upscaling vs downscaling: why bigger is not free
- How to resize images by pixels
- Resize images programmatically
- Common resize dimensions for developers
- Batch resizing and format conversion
- Why an offline image resizer protects your files
- Frequently asked questions
What an image resizer actually does
An image resizer maps the pixels of a source image onto a new grid of a different size, calculating each output pixel from one or more input pixels through a process called resampling. A raster image is a grid of pixels. When you change the dimensions, the resizer has to decide what color every pixel in the new grid should be, because the new grid rarely lines up with the old one.
Say you shrink a 1000x1000 image to 500x500. Each output pixel now represents a 2x2 block of the original. The resizer has to combine those four source pixels into one. Enlarge instead, from 500 to 1000, and the opposite problem appears: there are more output pixels than input pixels, so the resizer has to invent color values that were never captured.
That decision, how to combine or invent pixels, is the resampling algorithm. It is the single biggest factor in output quality, and it is exactly the thing that free online resizers never explain. They just resize and hope you do not notice the blur.
Two other terms get tangled with resizing and are worth separating:
- Resizing changes the pixel dimensions (width x height).
- Cropping removes pixels from the edges without resampling the rest.
- DPI/PPI is metadata about print density. Changing DPI does not change pixel dimensions and has zero effect on how an image displays on screen. If a tool asks for "DPI" when you only care about web output, ignore it and set pixel dimensions instead.
Resampling algorithms compared
The four common resampling algorithms trade computational cost for output quality: nearest neighbor is fastest and blockiest, while Lanczos is slowest and sharpest. Understanding which one a resizer uses tells you whether the output will look good before you ever run it.
| Algorithm | Pixels sampled | Speed | Quality | Best for |
|---|---|---|---|---|
| Nearest neighbor | 1 | Fastest | Blocky, hard edges | Pixel art, QR codes, indexed color |
| Bilinear | 4 (2x2) | Fast | Slightly soft | Real-time / GPU scaling |
| Bicubic | 16 (4x4) | Moderate | Smooth, mild blur | General photo resizing |
| Lanczos3 | 36 (6x6) | Slowest | Sharpest, minor ringing | High-quality downscaling |
Nearest neighbor copies the value of the single closest source pixel. No averaging, no smoothing. That makes it wrong for photos (you get visible stair-stepping) but correct for pixel art and anything with hard color boundaries you want to preserve exactly. Scaling a QR code up? Nearest neighbor keeps the modules crisp.
Bilinear takes a weighted average of the closest 2x2 block. Better than nearest neighbor, cheap enough for real-time use, but it softens edges noticeably.
Bicubic samples a 4x4 block (16 pixels) and fits a smooth cubic curve through them. This is the default in most image editors because it balances quality and speed well for typical photos.
Lanczos approximates an ideal sinc filter using a windowed function. Lanczos3 (window radius 3) samples a 6x6 grid of 36 pixels, producing the sharpest downscaled results of the common algorithms. The tradeoff is a faint "ringing" halo along high-contrast edges and higher CPU cost. For shrinking photos and screenshots, most people find Lanczos3 the best-looking option. This is the filter SelfDevKit's resizer uses under the hood, which is why downscaled output stays sharp instead of muddy.
There is no universally correct choice. As the image-scaling literature repeatedly notes, the right algorithm depends on your content and how you judge quality. For photographs being shrunk, prefer Lanczos or bicubic. For pixel-perfect graphics, use nearest neighbor. For a deeper technical treatment, the Wikipedia article on image scaling and MDN's canvas image smoothing docs are solid references.
Aspect ratio: the math that prevents distortion
To resize without distortion, keep the ratio of width to height constant, which means when you set a new width you must derive the height from the original ratio rather than picking it arbitrarily. Aspect ratio is width divided by height. A 1920x1080 image has a 16:9 ratio. Stretch it to 1000x1000 and every face gets squashed, because you changed the ratio from 1.78 to 1.0.
The formula to preserve aspect ratio is simple. Given original dimensions and one new target dimension:
newHeight = round(originalHeight * (newWidth / originalWidth))
So resizing a 1920x1080 image to 800px wide:
newHeight = round(1080 * (800 / 1920))
          = round(1080 * 0.4167)
          = round(450)
          = 450
The result is 800x450, still 16:9, no distortion.
Good resizers give you an aspect-ratio lock so you enter one dimension and the other is computed for you. When the lock is off, you can set width and height independently, which is occasionally what you want (fitting an exact frame) but usually a mistake. SelfDevKit exposes this as a toggle: keep aspect ratio to fit within your bounds, or force exact dimensions when you truly need them.
If you need an image to fit inside a box without distortion and without cropping, the pattern is "fit": scale so the longer side matches the box, and the shorter side ends up smaller than the box. If you need to fill the box completely, you scale to the shorter side and crop the overflow. Those are two different operations, and knowing which one you want saves a lot of confused re-exports.
Upscaling vs downscaling: why bigger is not free
Downscaling discards real pixel data and almost always looks good; upscaling invents pixel data that was never captured and almost always looks soft. This asymmetry is the most important thing to understand about resizing, and it is why "just make it bigger" so often disappoints.
When you shrink an image, the resizer has more information than it needs and averages it down. Detail is compressed but the result is sharp. When you enlarge, the resizer has to fill gaps between known pixels by interpolating, and interpolation is educated guessing. A 200x200 logo blown up to 2000x2000 with bicubic will look blurry because there simply is no extra detail to recover. The pixels between your originals are mathematical estimates, not real edges.
Practical rules:
- Always export from the largest source you have. Resize down from the original, never up from an already-shrunk copy.
- Do not chain resizes. Resizing 4000 to 1000 to 500 accumulates softening. Go 4000 to 500 in one step.
- Upscaling has a ceiling. Classic interpolation (bilinear, bicubic, Lanczos) cannot add detail. Only AI super-resolution models can hallucinate plausible detail, and that is a different tool than a standard resizer.
- Keep an original. Once you save a downscaled version over the source, that detail is gone for good.
How to resize images by pixels
To resize an image by pixels, open it in a resizer, enter the target width in pixels, keep the aspect ratio lock on so the height is calculated automatically, and export. That is the whole workflow for the common case. The details that matter are which resampling filter runs and whether your file leaves your machine.
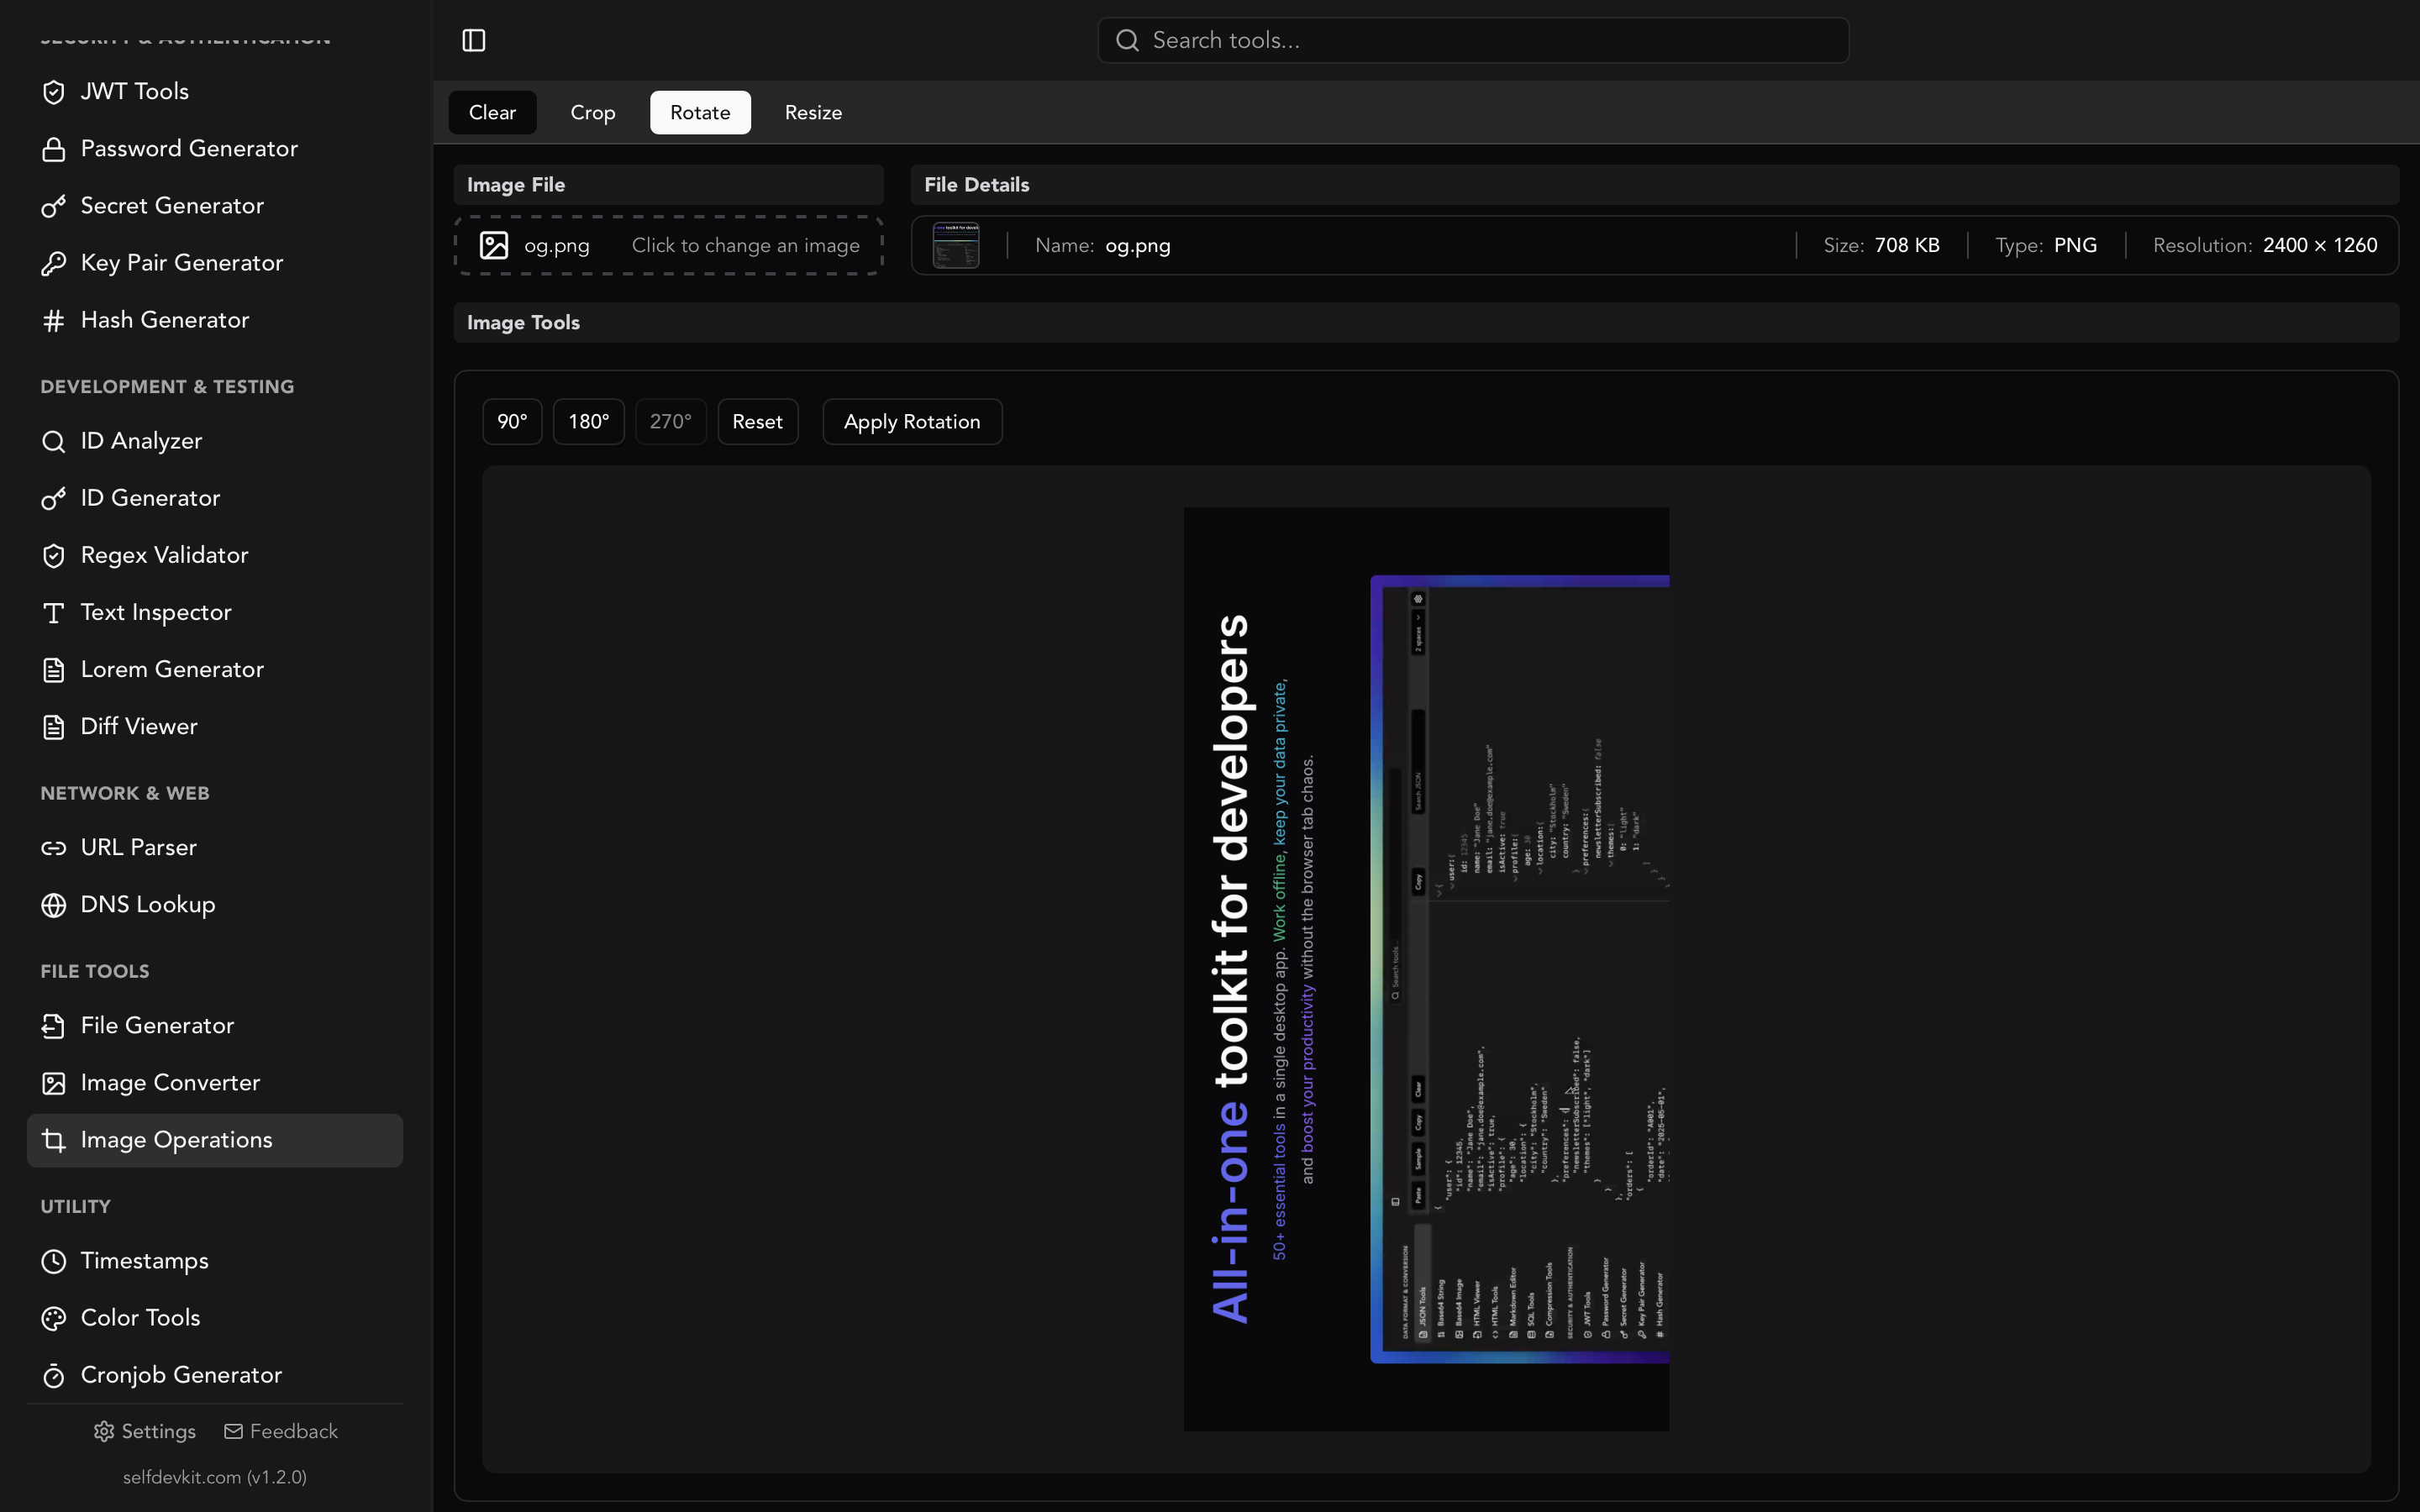
In SelfDevKit's Image Operations tool the flow is:
- Drop in your image (PNG, JPG, JPEG, WebP, GIF, TIFF, and more are decoded locally).
- Enter the target width and height in pixels.
- Toggle "maintain aspect ratio" on to avoid distortion, or off for exact dimensions.
- Preview the result, then save it to disk.
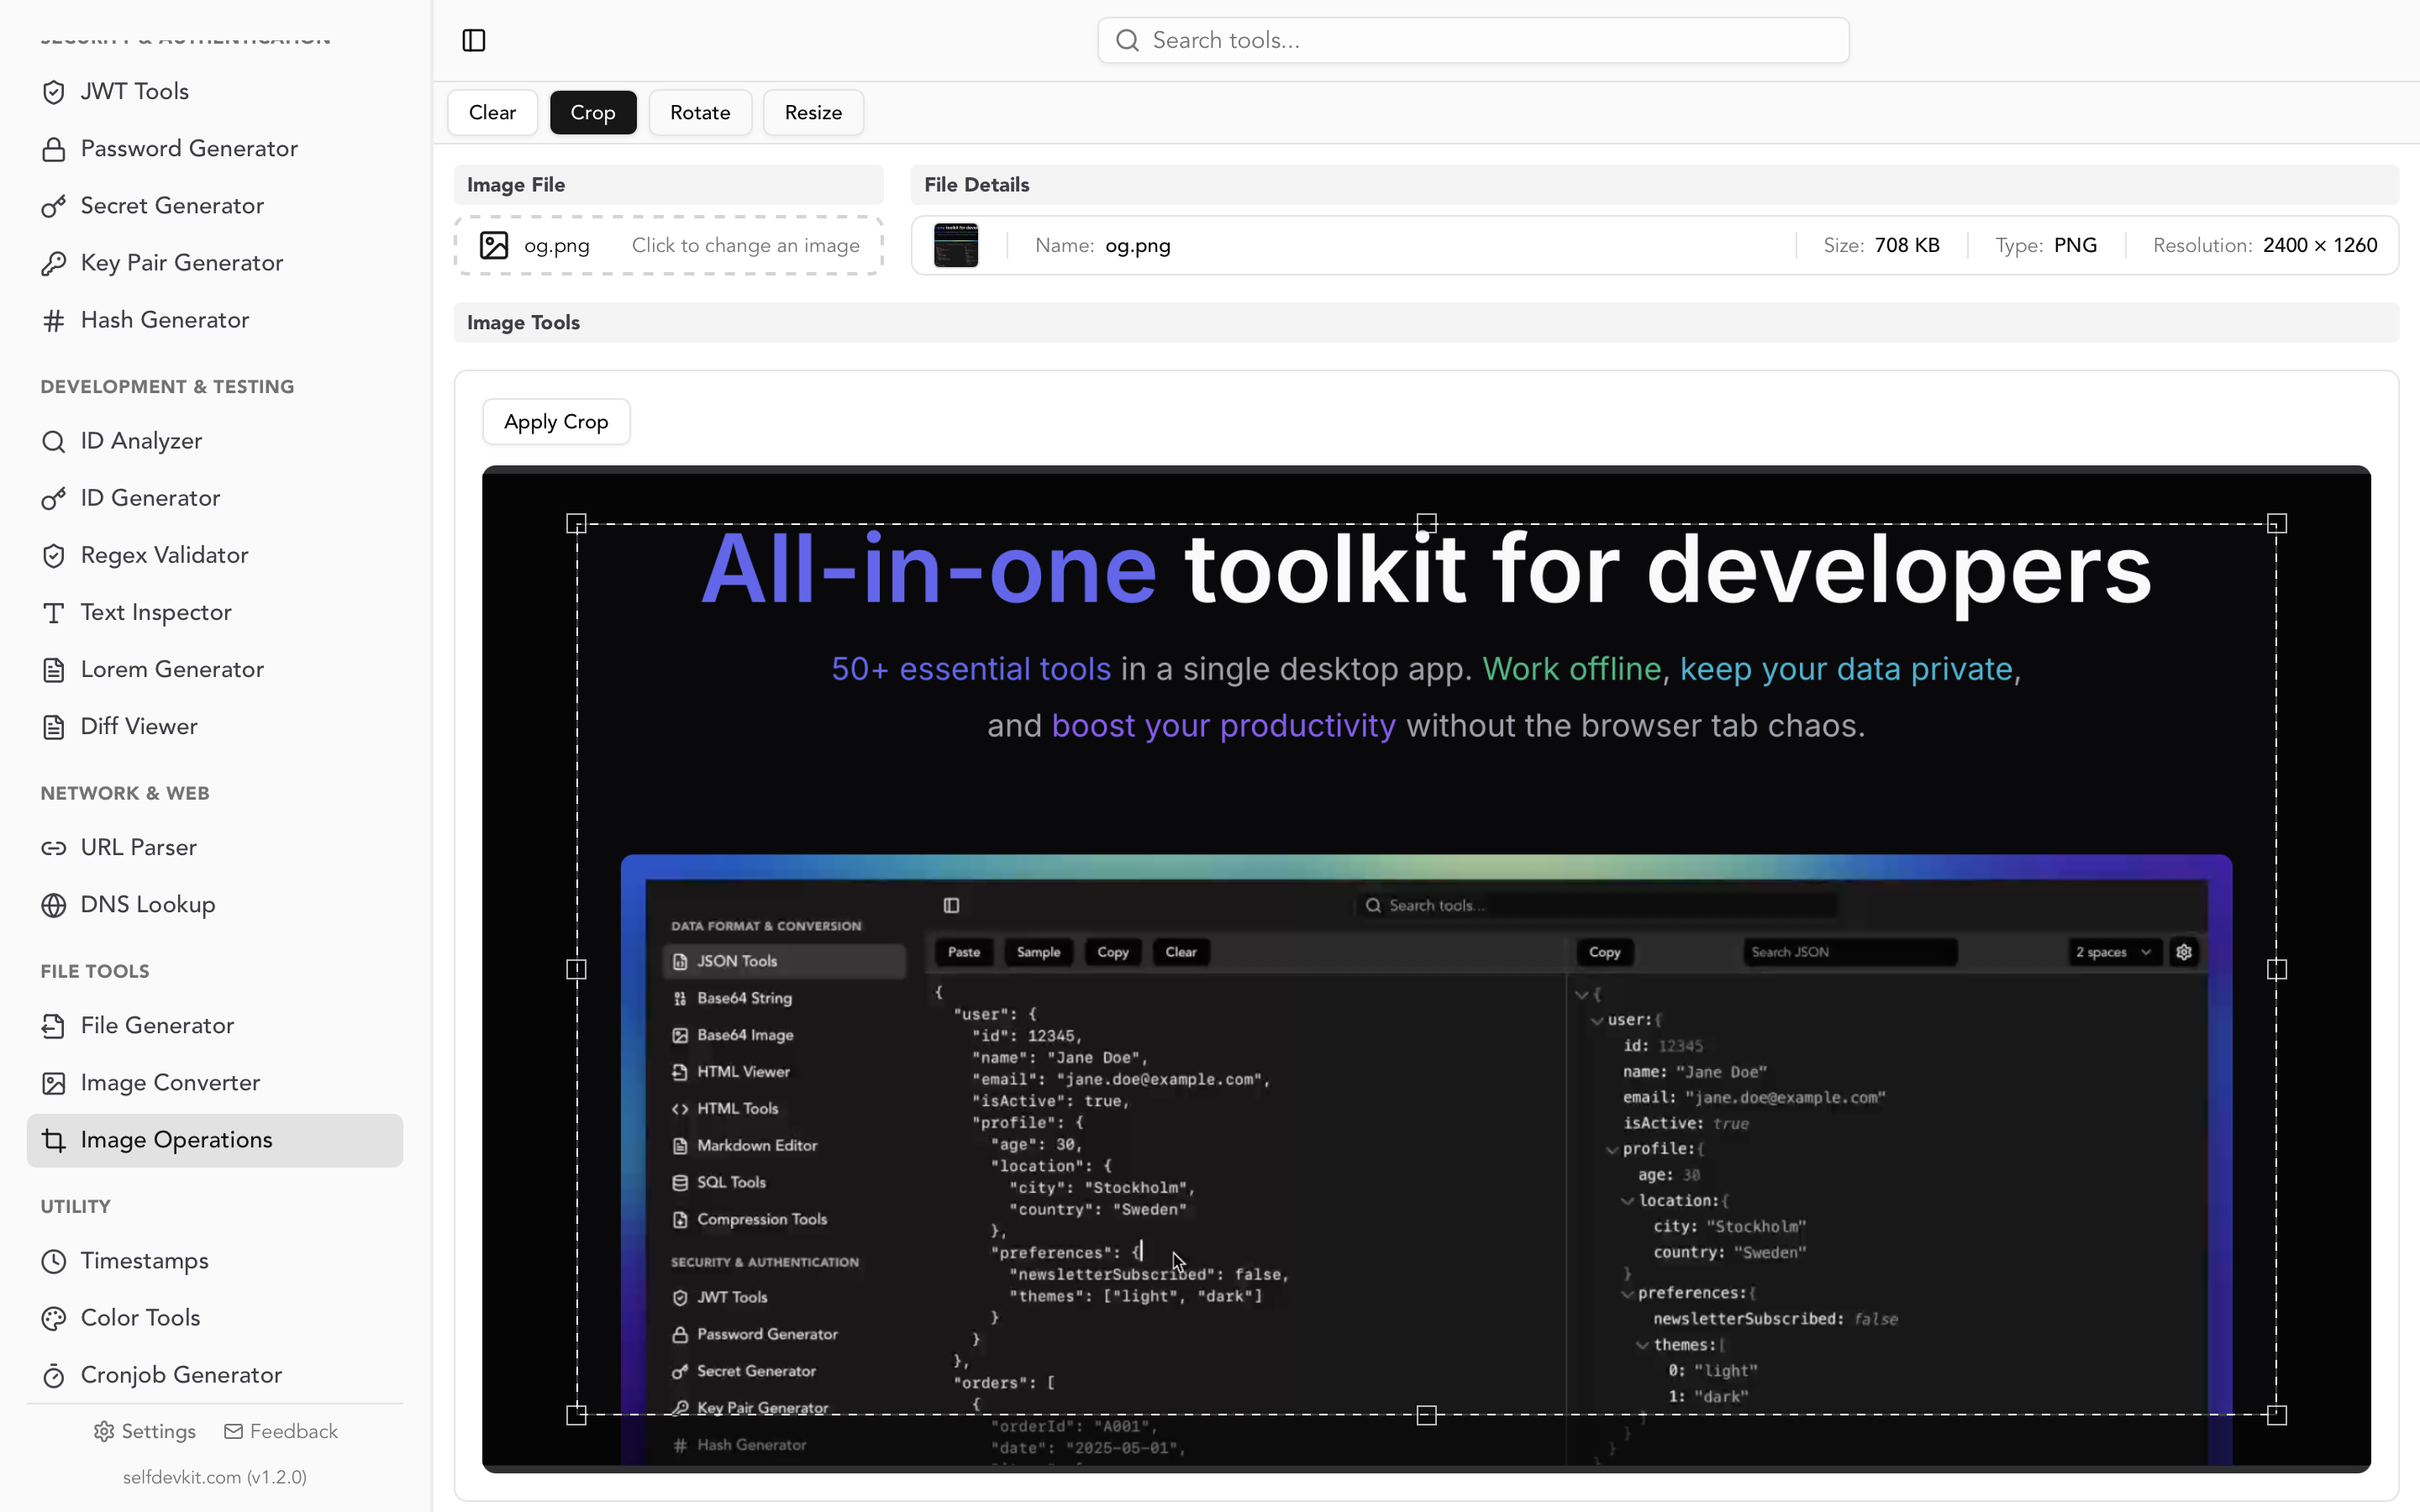
Because the resize runs through the Rust image crate with a Lanczos3 filter, downscaled output stays crisp without the mushiness you get from lower-quality bilinear scaling in some browser tools. And since it runs on your machine, there is no upload step and no size limit imposed by a server.
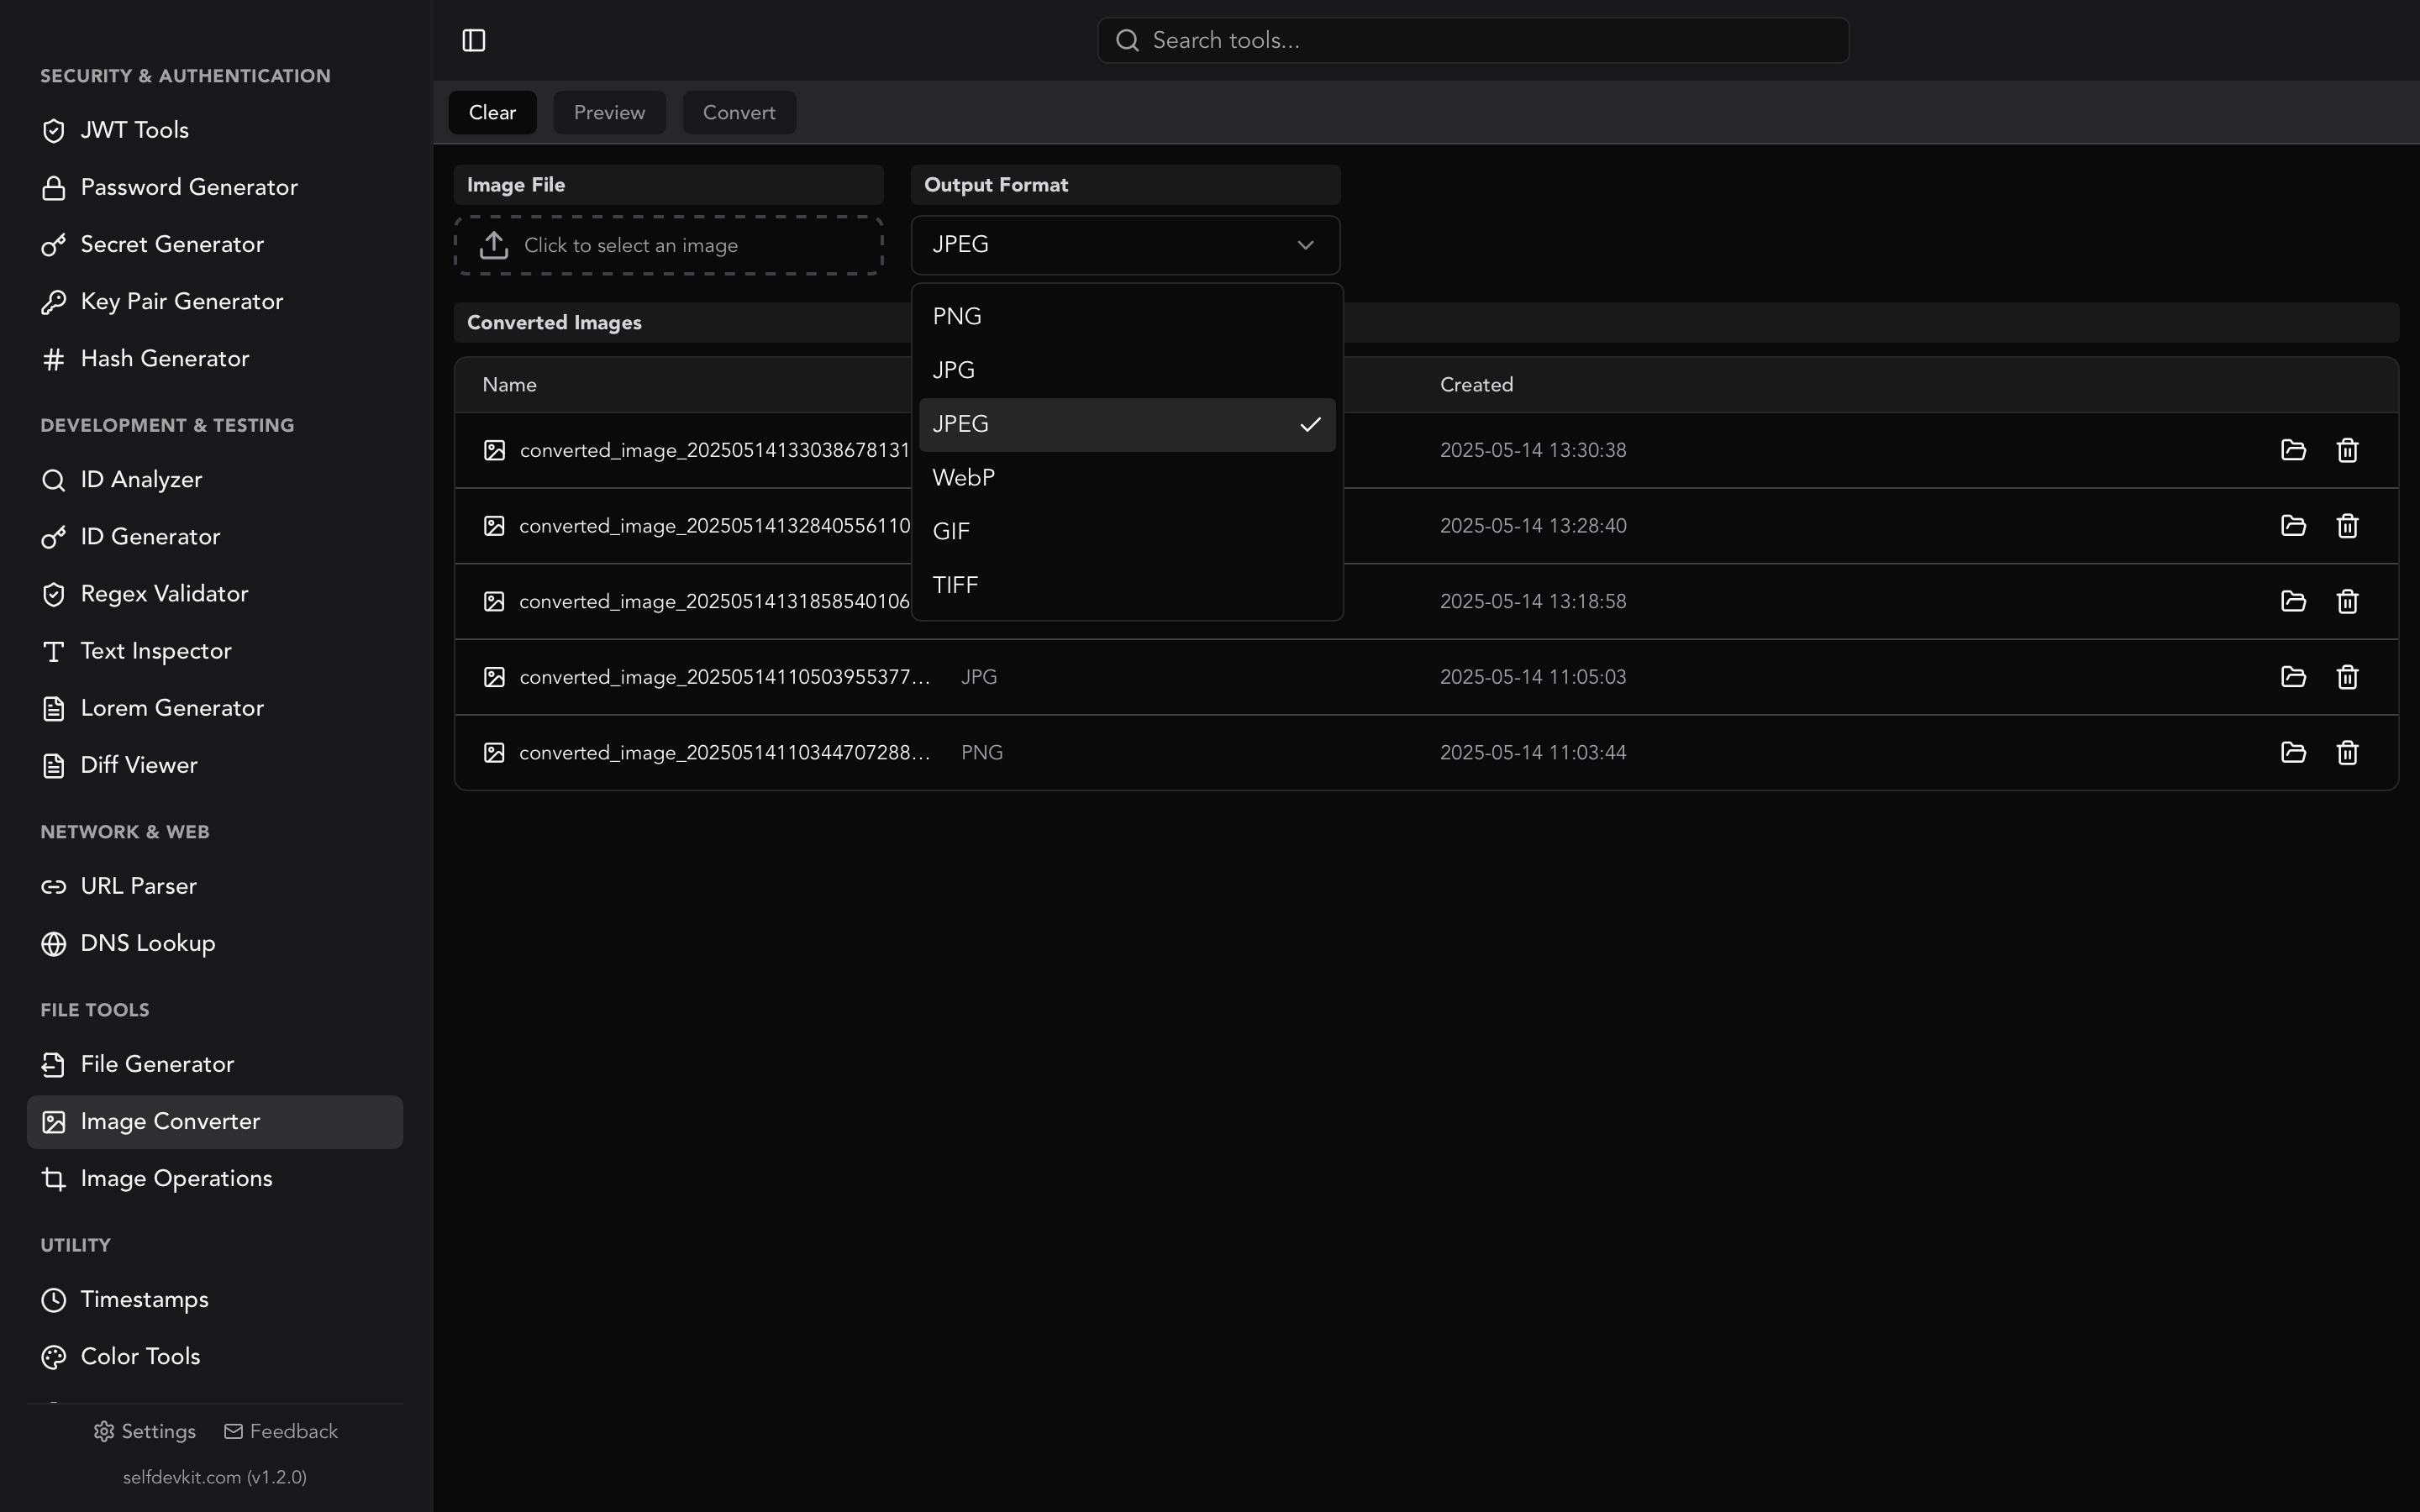
If your goal is a different file format rather than different dimensions, that is a separate operation. Reach for the image converter instead, or read our full image converter guide for the format decision framework.
Resize images programmatically
For repeatable or bulk work, resize in code rather than by hand. Every major language has a mature imaging library, and a few lines beat clicking through a UI a hundred times. Here are the four approaches developers reach for most.
Python with Pillow:
from PIL import Image

img = Image.open("input.jpg")

# Resize to exact dimensions
resized = img.resize((800, 450), Image.LANCZOS)
resized.save("output.jpg", quality=85)

# Fit within a bounding box, preserving aspect ratio
img.thumbnail((800, 800), Image.LANCZOS)  # modifies in place
img.save("thumb.jpg", quality=85)
Image.LANCZOS is the highest-quality filter Pillow offers for downscaling. thumbnail() is the shortcut when you want "fit inside this box" and never upscale.
Node.js with sharp:
const sharp = require('sharp');

// Fit inside 800x800, keep aspect ratio, never enlarge
await sharp('input.jpg')
  .resize(800, 800, { fit: 'inside', withoutEnlargement: true })
  .toFile('output.jpg');

// Force exact dimensions (may distort)
await sharp('input.jpg')
  .resize(800, 450, { fit: 'fill' })
  .toFile('exact.jpg');
sharp is backed by libvips and is fast enough for production image pipelines. The fit option (cover, contain, fill, inside, outside) encodes exactly the fit-vs-fill decision discussed above.
Command line with ImageMagick:
# Resize to 800px wide, height auto (aspect preserved)
magick input.jpg -resize 800x output.jpg

# Fit inside 800x800
magick input.jpg -resize 800x800 output.jpg

# Force exact dimensions with ! (ignores aspect ratio)
magick input.jpg -resize 800x450! output.jpg

# Batch: resize every JPG in a folder
magick mogrify -resize 800x -path ./resized *.jpg
The trailing ! forces exact dimensions. Without it, ImageMagick treats the geometry as a bounding box and preserves the ratio.
Browser with the Canvas API:
function resizeImage(img, width, height) {
  const canvas = document.createElement('canvas');
  canvas.width = width;
  canvas.height = height;
  const ctx = canvas.getContext('2d');
  ctx.imageSmoothingQuality = 'high'; // request better resampling
  ctx.drawImage(img, 0, 0, width, height);
  return canvas.toDataURL('image/jpeg', 0.85);
}
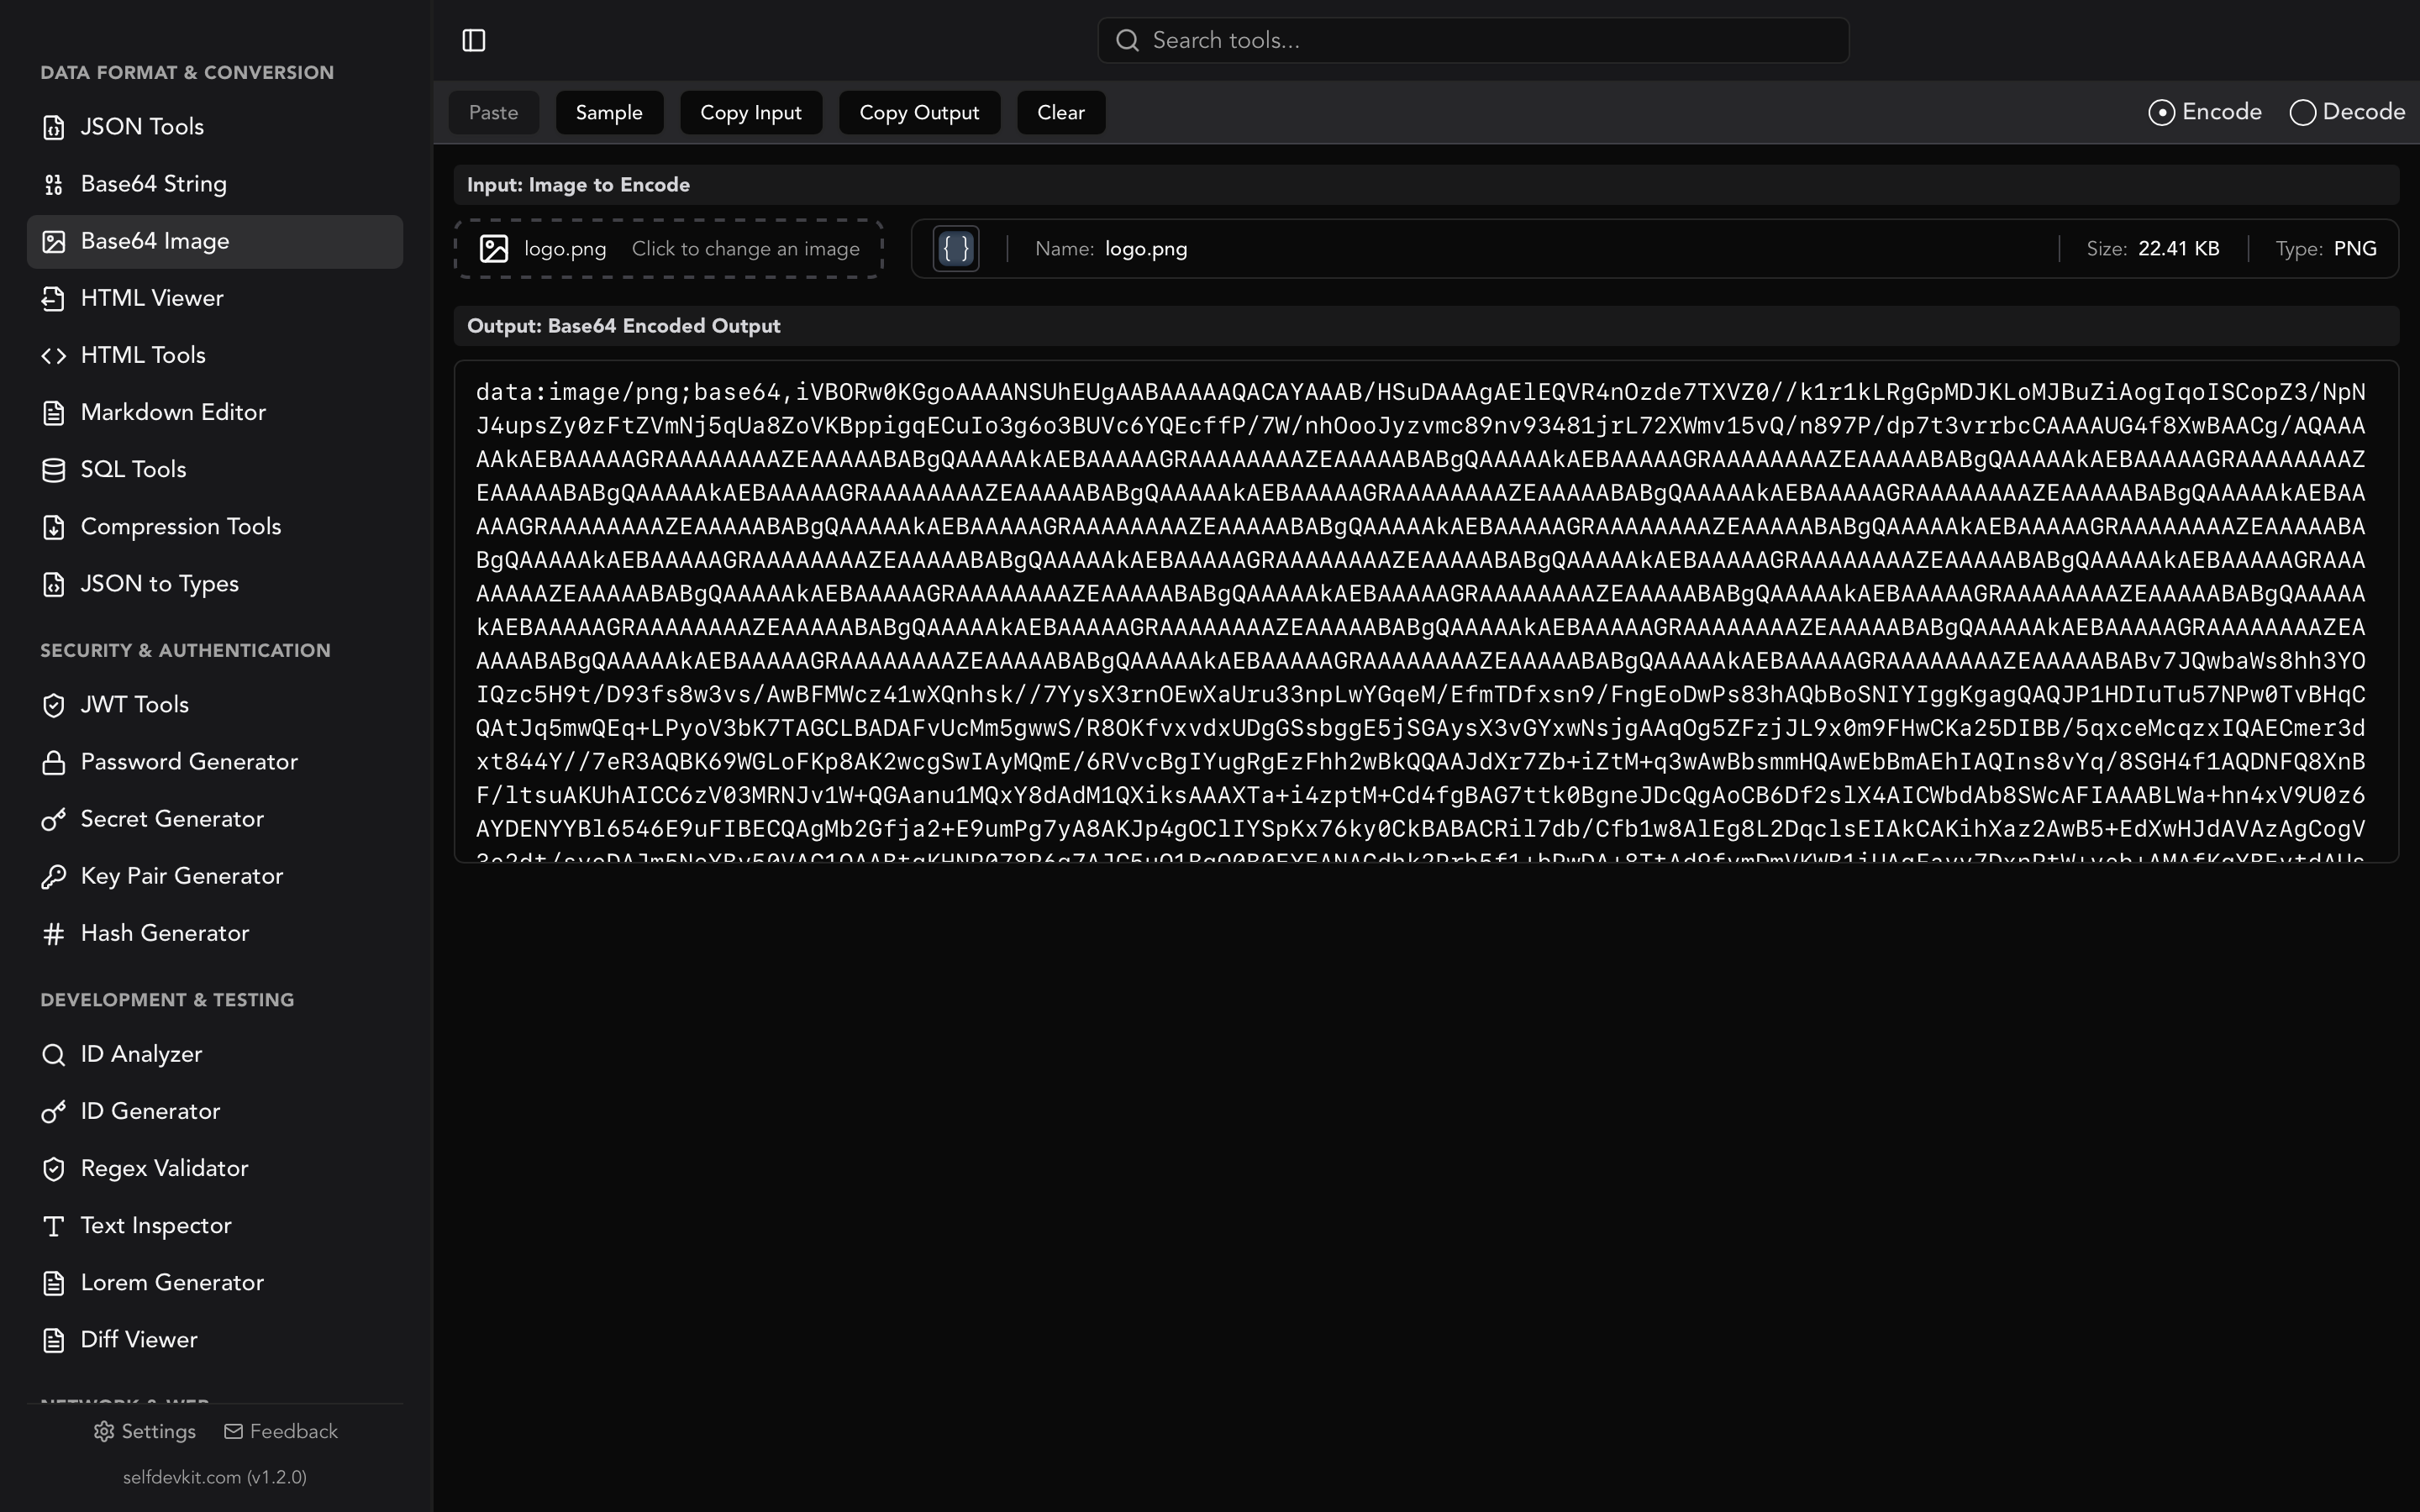
Canvas resizing is convenient client-side but the resampling quality is browser-dependent and generally weaker than Lanczos. For thumbnails it is fine; for hero images, prefer a real imaging library. If you are turning the output into a data URI for CSS or inline HTML, our base64 image guide covers the encoding side.
Common resize dimensions for developers
Most resizing tasks target a handful of standard sizes. Keeping these on hand saves you from re-deriving dimensions every time. These are the ones that come up most in day-to-day development work.
| Use case | Dimensions | Notes |
|---|---|---|
| Favicon | 16x16, 32x32, 48x48 | Ship multiple sizes in one .ico or as PNGs |
| Apple touch icon | 180x180 | Referenced via apple-touch-icon |
| PWA / Android icons | 192x192, 512x512 | Required by the web app manifest |
| Open Graph image | 1200x630 | Social share previews (1.91:1) |
| Twitter/X summary card | 1200x628 | Large image card |
| YouTube thumbnail | 1280x720 | 16:9 |
| Instagram square | 1080x1080 | 1:1 |
Responsive srcset steps |
640, 768, 1024, 1280, 1920 | Widths for sizes breakpoints |
For responsive images, the pattern is to generate several widths from one source and let the browser pick via srcset. That is a batch-resize job, which is exactly where a resizer that handles multiple files at once pays off.
Batch resizing and format conversion
Batch resizing applies the same dimensions to many images in one pass, which is essential for generating icon sets, responsive image variants, or normalizing a folder of assets. Doing this one file at a time in a web tool is tedious and, if the tool uploads each file, slow and risky.
SelfDevKit's Image Operations handles multiple images at once for exactly this reason: preparing an icon set, normalizing product photos to a catalog size, or building the width steps for a srcset. Because everything runs locally, batch jobs are limited only by your machine, not by an upload queue or a per-file size cap.
Resizing and format conversion are often wanted together (shrink to 800px and convert PNG to WebP, for instance). Those are two operations. Resize first to control dimensions, then convert to control encoding and file size. WebP typically lands 25 to 34 percent smaller than JPEG at equivalent quality, so pairing a resize with a WebP conversion is a common way to hit a byte budget. The image converter covers the format side; combine it with the resizer for a full pipeline without ever opening a browser tab.
Why an offline image resizer protects your files
An offline image resizer processes images entirely on your device, so files never upload to a third-party server, which matters because the images developers resize often contain sensitive information. This is the part every "free online image resizer" quietly skips over.
Think about what actually goes through a resizer: product screenshots before launch, internal dashboards, customer-uploaded ID scans and passport photos, medical images, design comps under NDA, screenshots that include tokens or email addresses in the corner. When you paste any of that into a web-based resizer, the file travels to someone else's infrastructure. What happens next is invisible to you:
- The image is uploaded and sits on their servers, at least temporarily.
- It may be logged, cached, or retained under terms you did not read.
- Third-party scripts on the page can potentially access it.
- You have no audit trail proving the file was deleted.
Even reputable services have breaches and misconfigured buckets. And in March 2025 the FBI's Denver field office warned specifically about malicious free online file-converter and image tools that inject malware or harvest uploaded data, which is worth keeping in mind before pasting anything sensitive into a random site.
For teams under GDPR, HIPAA, SOC 2, or client NDAs, sending images to an arbitrary third party is often a straightforward policy violation. An offline resizer sidesteps all of it. The image is decoded, resampled, and saved on your machine. Zero network requests, no upload, no retention question to answer. We go deeper on this tradeoff in why offline-first developer tools matter.
Offline is also just faster. No upload wait, no download wait, no size ceiling. Resizing a 40MB TIFF locally is instant; uploading it twice over a hotel connection is not.
Frequently asked questions
How do I resize an image without losing quality?
Downscale from the highest-resolution source you have, use a high-quality resampling filter (Lanczos3 or bicubic), and resize in a single step rather than chaining multiple resizes. Downscaling preserves quality well because it discards excess detail. Upscaling cannot truly add quality since it invents pixels that were never captured, so any enlargement will look softer than the original.
What is the best image size for the web?
It depends on placement. Hero images are commonly 1920px wide, content images 800 to 1200px, thumbnails 200 to 400px, and Open Graph share images exactly 1200x630. Generate multiple widths (640, 768, 1024, 1280, 1920) and serve them with srcset so browsers download only what they need. Pair the resize with a WebP conversion to cut file size further.
Does resizing an image change its file format?
No. Resizing changes pixel dimensions only. The format stays whatever you save as. If you also want a different format, resize first, then convert. SelfDevKit's image converter handles PNG, JPG, WebP, GIF, and TIFF conversions locally, and you can read the full image converter guide for choosing between them.
Is it safe to use online image resizers?
For non-sensitive images, mainstream tools are generally fine. But images often contain private data (ID scans, unreleased screenshots, internal dashboards), and uploading those to a third-party server creates a privacy and compliance risk. An offline resizer that processes files locally removes the upload entirely, which is the safe default for anything confidential.
Try it yourself
Resize images, lock or ignore aspect ratio, batch-process a folder, then crop or rotate in the same window, all with Lanczos3 quality and none of it leaving your machine. The image operations tool is one of 50+ utilities in SelfDevKit, alongside the image converter and base64 image tools for a complete local image pipeline.
Download SelfDevKit and resize images offline, privately, without a single upload.