What is an image converter?
An image converter transforms image files from one format to another, such as PNG to JPG, JPG to WebP, or TIFF to PNG. Developers use image converters to optimize assets for the web, meet platform requirements, and reduce file sizes without unacceptable quality loss.
Every developer eventually hits the moment: a designer hands over assets in TIFF, but the web app needs WebP. Or a client uploads PNGs that bloat the page to 8 MB. Or an API returns JPEG screenshots that need transparency for compositing. An image converter solves all of these, but the tool you choose matters more than you might think.
This guide covers the major image formats, when each one makes sense, how to convert between them in code and with tools, and why uploading your images to random websites is a worse idea than it sounds.
Table of contents
- Image formats every developer should know
- When to use which format
- How to convert images in code
- Batch image conversion for real workflows
- The hidden cost of online image converters
- Image converter with SelfDevKit
- Frequently asked questions
Image formats every developer should know
Each image format exists because it solves a specific problem. Understanding what that problem is helps you pick the right output format every time, instead of defaulting to PNG for everything.
PNG (Portable Network Graphics)
PNG uses lossless compression, meaning zero quality loss no matter how many times you re-save the file. It supports full alpha channel transparency (256 levels of opacity per pixel, not just on/off). The trade-off is file size. A typical PNG photograph will be 5 to 10 times larger than an equivalent JPEG.
According to the MDN image format guide, PNG supports color depths from 1 to 16 bits per component and a theoretical maximum resolution of 2,147,483,647 by 2,147,483,647 pixels.
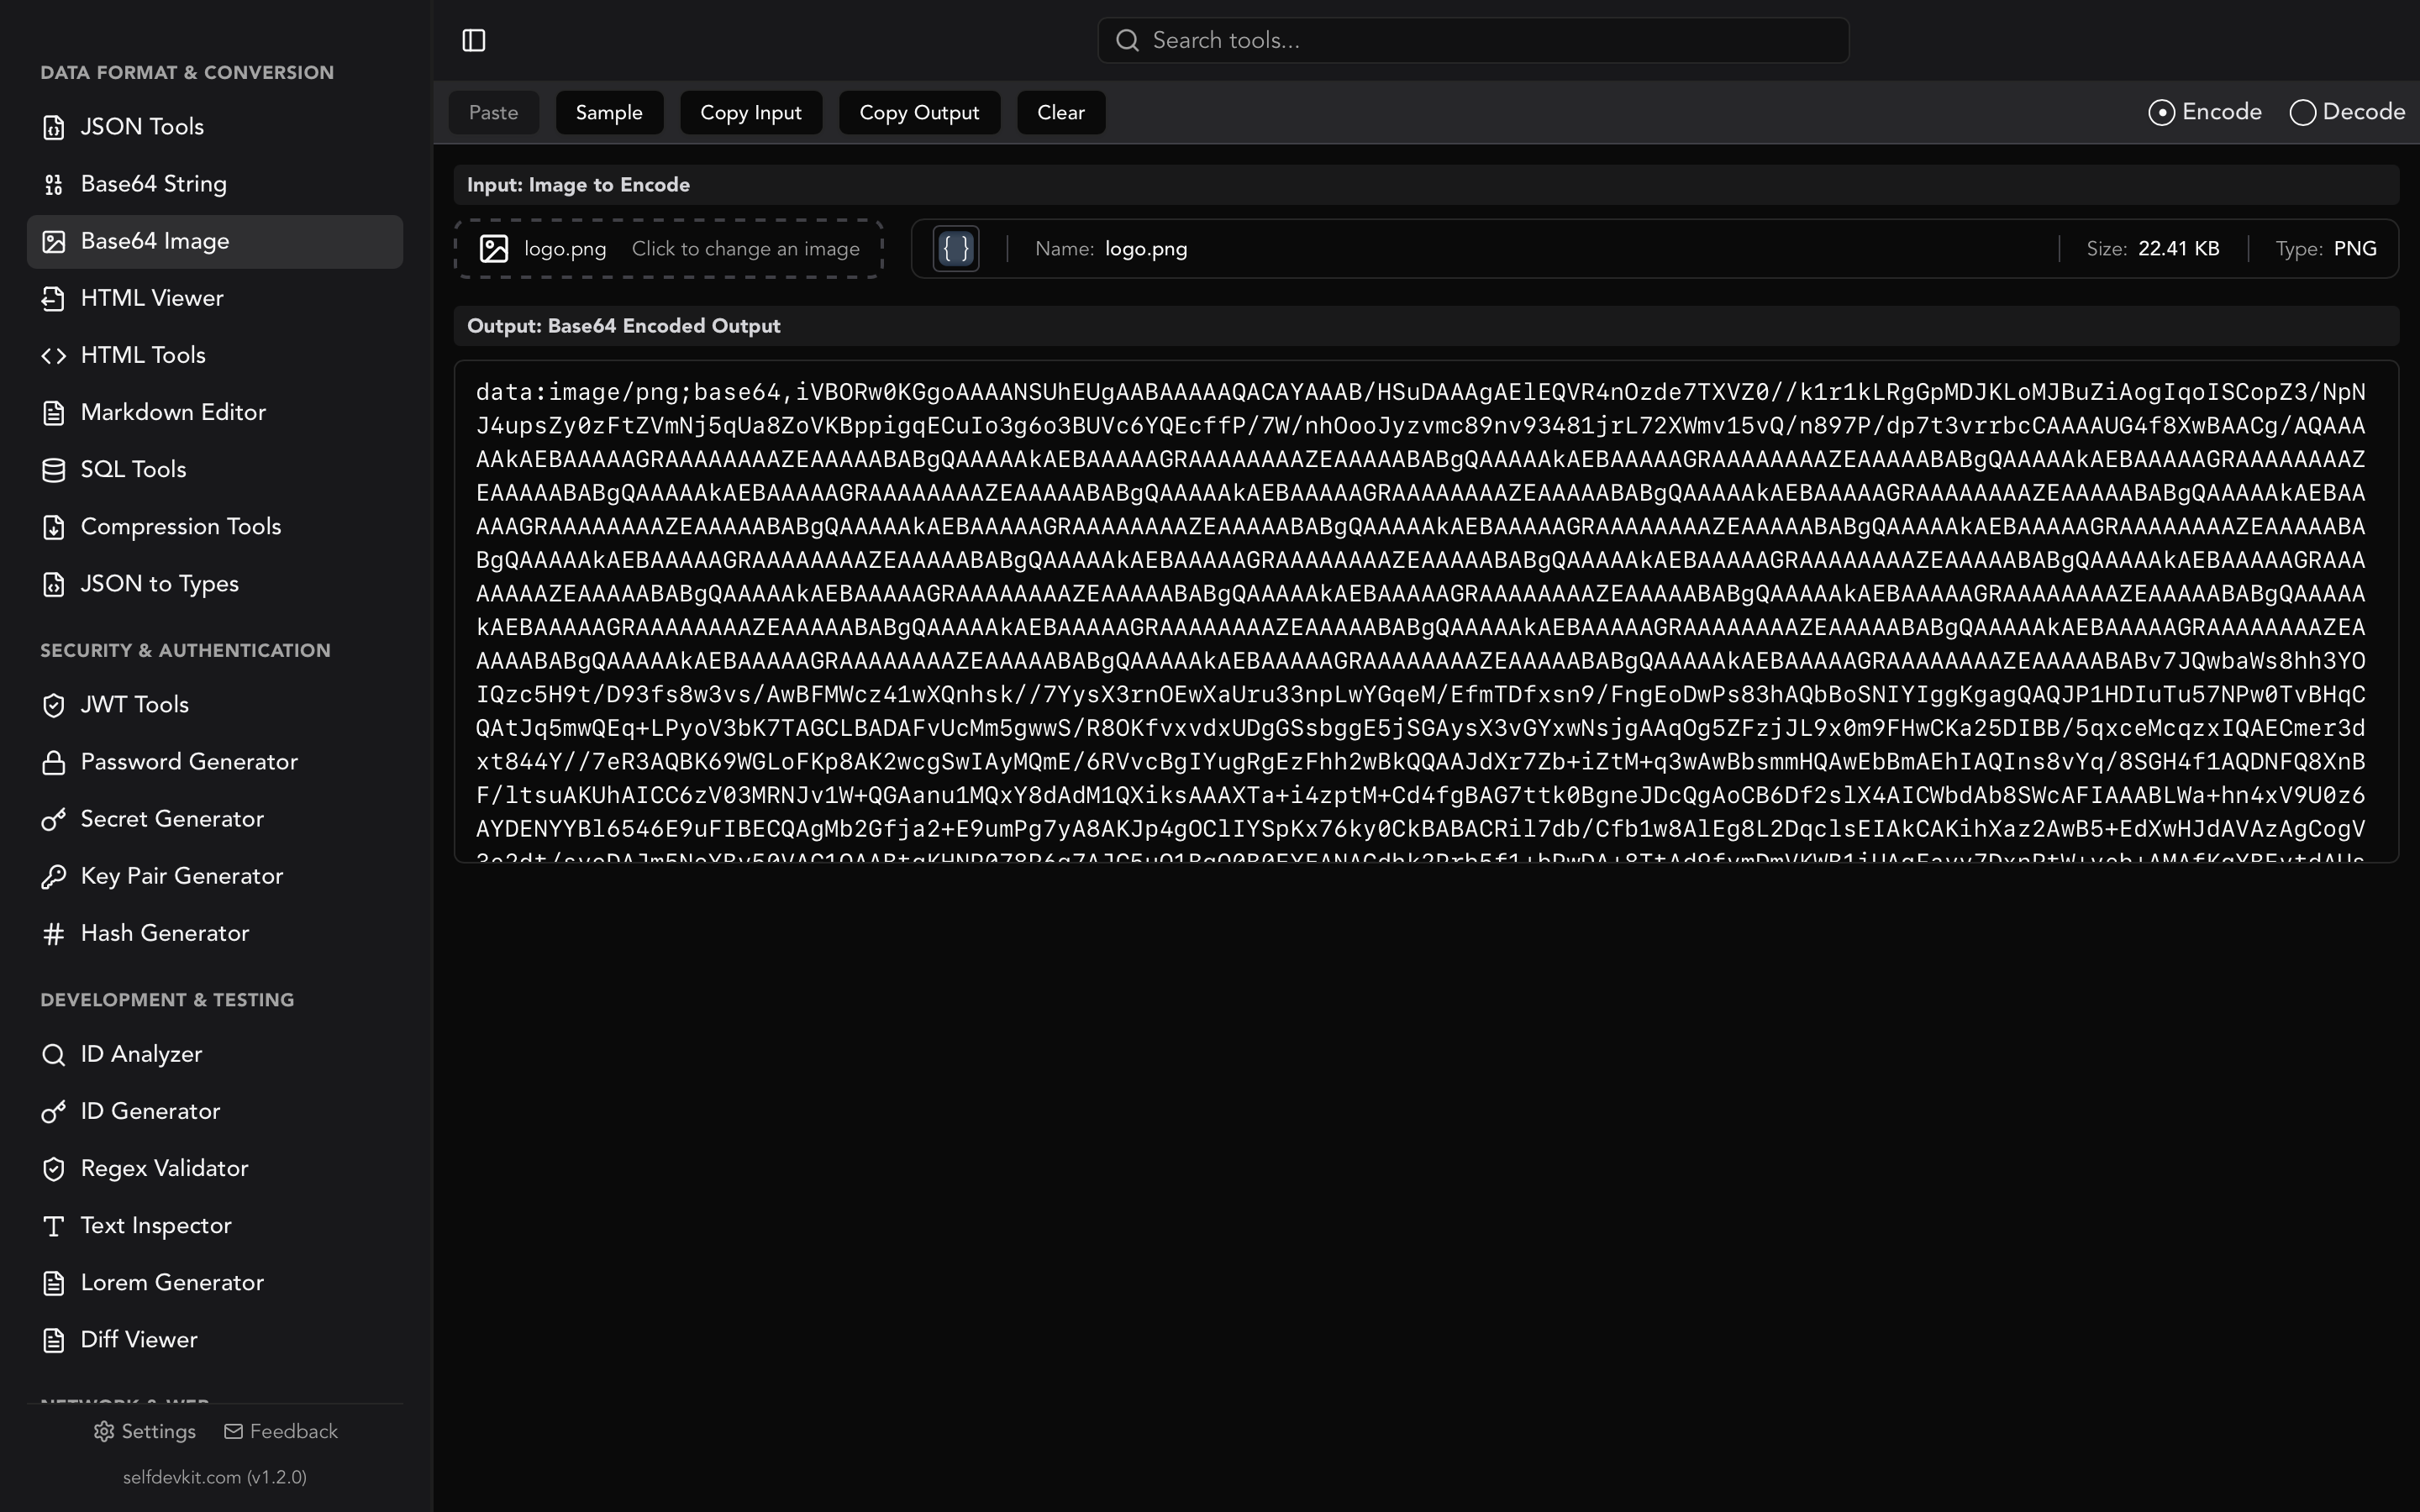
PNG is also the format most commonly used for Base64 image encoding, since its lossless compression means the encoded string faithfully represents the original pixels.
Best for: screenshots, icons, logos, UI assets, diagrams, anything with text overlays or sharp edges.
JPEG (Joint Photographic Experts Group)
JPEG applies lossy compression through discrete cosine transform (DCT). It throws away visual data that the human eye is unlikely to notice, producing dramatically smaller files. A quality setting of 80 to 85 is typically indistinguishable from the original for photographic content.
JPEG does not support transparency. It also degrades with each re-save, so you should always keep your source file in a lossless format and export to JPEG as a final step.
Best for: photographs, social media images, email attachments, anywhere file size matters more than pixel-perfect accuracy.
WebP
Developed by Google, WebP offers both lossy and lossless compression modes. Lossy WebP images are 25 to 34% smaller than equivalent JPEG files at the same visual quality. Lossless WebP is typically 26% smaller than PNG. It supports transparency in both modes and even supports animation.
Browser support is now near-universal at roughly 97% globally. The only holdouts are very old browser versions that represent a shrinking fraction of traffic.
Best for: virtually any web image. WebP is the default recommendation for new projects that don't need to support legacy browsers.
GIF (Graphics Interchange Format)
GIF is limited to 256 colors per frame using an indexed palette. It supports animation (frame sequences with configurable delays) and simple binary transparency (one color is either fully transparent or fully opaque). Its compression uses the LZW algorithm, which is lossless within the 256-color constraint.
For static images, GIF has been largely replaced by PNG (better quality) and WebP (smaller files with animation support). But GIF remains ubiquitous for short animations, reactions, and memes because every platform on earth supports it.
Best for: simple animations, reaction images, situations where universal compatibility is more important than quality.
TIFF (Tagged Image File Format)
TIFF stores images with minimal or no compression, preserving maximum quality. It supports CMYK color spaces (essential for print), extensive metadata via its tag-based structure, and multi-page documents in a single file. The downside: TIFF files are large. A single high-resolution photograph can easily exceed 50 MB.
Browsers mostly don't render TIFF inline. Only Safari has native support. TIFF exists for workflows that happen before the image reaches the web.
Best for: print production, archival, professional photography, any workflow where the file will be further edited or printed.
When to use which format
Picking the right format is a decision tree, not a preference. Here is a quick reference:
| Scenario | Recommended format | Why |
|---|---|---|
| Photographs for web | WebP (JPEG fallback) | 25-34% smaller than JPEG, broad support |
| Icons and logos | PNG or SVG | Lossless, sharp edges, transparency |
| Screenshots with text | PNG | Lossless preserves text sharpness |
| Animated content | WebP or GIF | WebP is smaller; GIF is universal |
| Print assets | TIFF | CMYK support, no compression artifacts |
| Thumbnails and previews | JPEG at 70-80 quality | Small files, acceptable quality |
| Responsive web images | WebP with <picture> fallback |
Optimal size for modern browsers |
The <picture> element for progressive format support
When you need to serve WebP to modern browsers while providing a fallback for older ones, the HTML <picture> element handles this cleanly:
<picture>
  <source srcset="hero.webp" type="image/webp">
  <source srcset="hero.jpg" type="image/jpeg">
  <img src="hero.jpg" alt="Hero image" width="1200" height="630">
</picture>
The browser picks the first format it supports, so modern browsers get the smaller WebP file while older browsers fall back to JPEG. No JavaScript required.
How to convert images in code
Sometimes you need to convert images programmatically rather than one at a time in a GUI. Here are working examples in common languages.
Python with Pillow
from PIL import Image

# Single conversion: PNG to WebP
img = Image.open("screenshot.png")
img.save("screenshot.webp", "WEBP", quality=85, method=6)

# JPEG to PNG (preserving transparency if present)
img = Image.open("photo.jpg")
img.save("photo.png", "PNG", optimize=True)

# Batch convert all PNGs in a directory to WebP
import glob
for path in glob.glob("assets/*.png"):
    img = Image.open(path)
    output = path.replace(".png", ".webp")
    img.save(output, "WEBP", quality=90)
    print(f"Converted {path} -> {output}")
Pillow's method=6 parameter for WebP uses the slowest but most efficient compression. For build pipelines where conversion time matters less than output size, this is worth the extra seconds.
Node.js with Sharp
const sharp = require('sharp');
const fs = require('fs');
const path = require('path');

// Single conversion: JPG to WebP
await sharp('photo.jpg')
  .webp({ quality: 85 })
  .toFile('photo.webp');

// PNG to JPEG with quality control
await sharp('screenshot.png')
  .jpeg({ quality: 80, mozjpeg: true })
  .toFile('screenshot.jpg');

// Batch convert with resize
const files = fs.readdirSync('uploads')
  .filter(f => f.endsWith('.png'));

for (const file of files) {
  await sharp(path.join('uploads', file))
    .resize(1200, null, { withoutEnlargement: true })
    .webp({ quality: 85 })
    .toFile(path.join('output', file.replace('.png', '.webp')));
}
Sharp is built on libvips, which processes images in a streaming fashion. It uses significantly less memory than ImageMagick for large files, making it a strong choice for server-side conversion in Node.js applications.
CLI with ImageMagick
# Convert single file
magick input.png output.webp

# Batch convert all JPEGs to WebP
magick mogrify -format webp -quality 85 *.jpg

# Convert with resize
magick input.tiff -resize 1920x1080 -quality 90 output.jpg

# Convert PNG to JPEG, setting white background for transparency
magick input.png -background white -flatten output.jpg
That last example is important. When converting from PNG (which supports transparency) to JPEG (which does not), you need to explicitly set a background color. Otherwise, transparent areas may render as black or produce unexpected results.
Rust with the image crate
use image::{ImageFormat, DynamicImage};

fn convert_image(input: &str, output: &str, format: ImageFormat)
    -> Result<(), image::ImageError>
{
    let img: DynamicImage = image::open(input)?;
    img.save_with_format(output, format)?;
    Ok(())
}

// Usage
convert_image("photo.png", "photo.webp", ImageFormat::WebP)?;
convert_image("asset.jpg", "asset.tiff", ImageFormat::Tiff)?;
This is the same image crate that SelfDevKit uses under the hood. Conversions run at native speed with zero runtime overhead.
Batch image conversion for real workflows
Converting one image at a time is fine for quick tasks. Real projects demand batch processing. Here are patterns that come up repeatedly in developer workflows.
CI/CD asset optimization
A common pattern is converting uploaded images to WebP during your build pipeline. This ensures every image on your site is optimized, regardless of what format contributors uploaded:
# GitHub Actions example
- name: Convert images to WebP
  run: |
    for file in static/images/*.{png,jpg,jpeg}; do
      magick "$file" -quality 85 "${file%.*}.webp"
    done
Responsive image generation
Most modern frameworks expect multiple sizes per image. Combining format conversion with resizing in a single pass saves both time and disk space:
const sizes = [320, 640, 960, 1280, 1920];

for (const width of sizes) {
  await sharp('original.png')
    .resize(width)
    .webp({ quality: 85 })
    .toFile(`output/hero-${width}w.webp`);
}
The metadata problem
Image files can contain surprising amounts of metadata. JPEG EXIF data often includes GPS coordinates, camera model, lens information, and timestamps. When converting images for public use, stripping metadata is a good default:
# Strip all metadata during conversion
magick input.jpg -strip output.webp
This matters more than it sounds. A 2024 study found that a significant number of images uploaded to public platforms still contain embedded GPS coordinates. If your app processes user-uploaded photos, stripping metadata before storing or re-serving them is a basic privacy measure. The same caution applies to any data that could identify users or systems; if you need to verify file integrity after stripping metadata, generating a hash of the output gives you a reliable checksum.

The hidden cost of online image converters
The top search results for "image converter" are all online tools: FreeConvert, CloudConvert, Canva, and dozens of others. They work. But every one of them requires you to upload your images to someone else's server.
What you are actually uploading
Think about the images you convert on a typical workday:
- Product screenshots containing unreleased UI or features
- Client assets covered by NDAs
- User-uploaded photos with embedded EXIF data (GPS coordinates, timestamps)
- Internal diagrams showing architecture, infrastructure, or business logic
- Medical or legal images subject to HIPAA, GDPR, or other regulations
When you drag these into an online converter, the file leaves your machine entirely. Even if the service says they delete files after processing, you are trusting their infrastructure, their employees, their security practices, and every third-party script loaded on their page.
Real risks, not theoretical ones
The FBI issued a warning in March 2025 about malicious online file converters being used to distribute malware. Threat actors create convincing converter sites that appear to work normally but inject malware into downloaded files or scrape uploaded content for sensitive data.
Even legitimate services carry risk. HTTPS encrypts your upload in transit, but says nothing about storage, retention, or who has access on the server side. Many free converters fund themselves through advertising, which means third-party JavaScript tracking code runs on the same page where your files are being processed.
The offline alternative
An offline image converter eliminates these concerns completely. Your files never leave your machine. There is no upload, no server, no retention policy to read, no third-party scripts to worry about.
For developers working with client assets, user data, or anything under compliance requirements (SOC 2, HIPAA, GDPR), offline conversion is not a nice-to-have. It is a baseline requirement.
This same principle applies to other developer tools. If your workflow involves decoding JWTs that contain authentication claims, those tokens should never pass through a third-party server either. Any tool that touches sensitive data belongs on your own machine.
Image converter with SelfDevKit
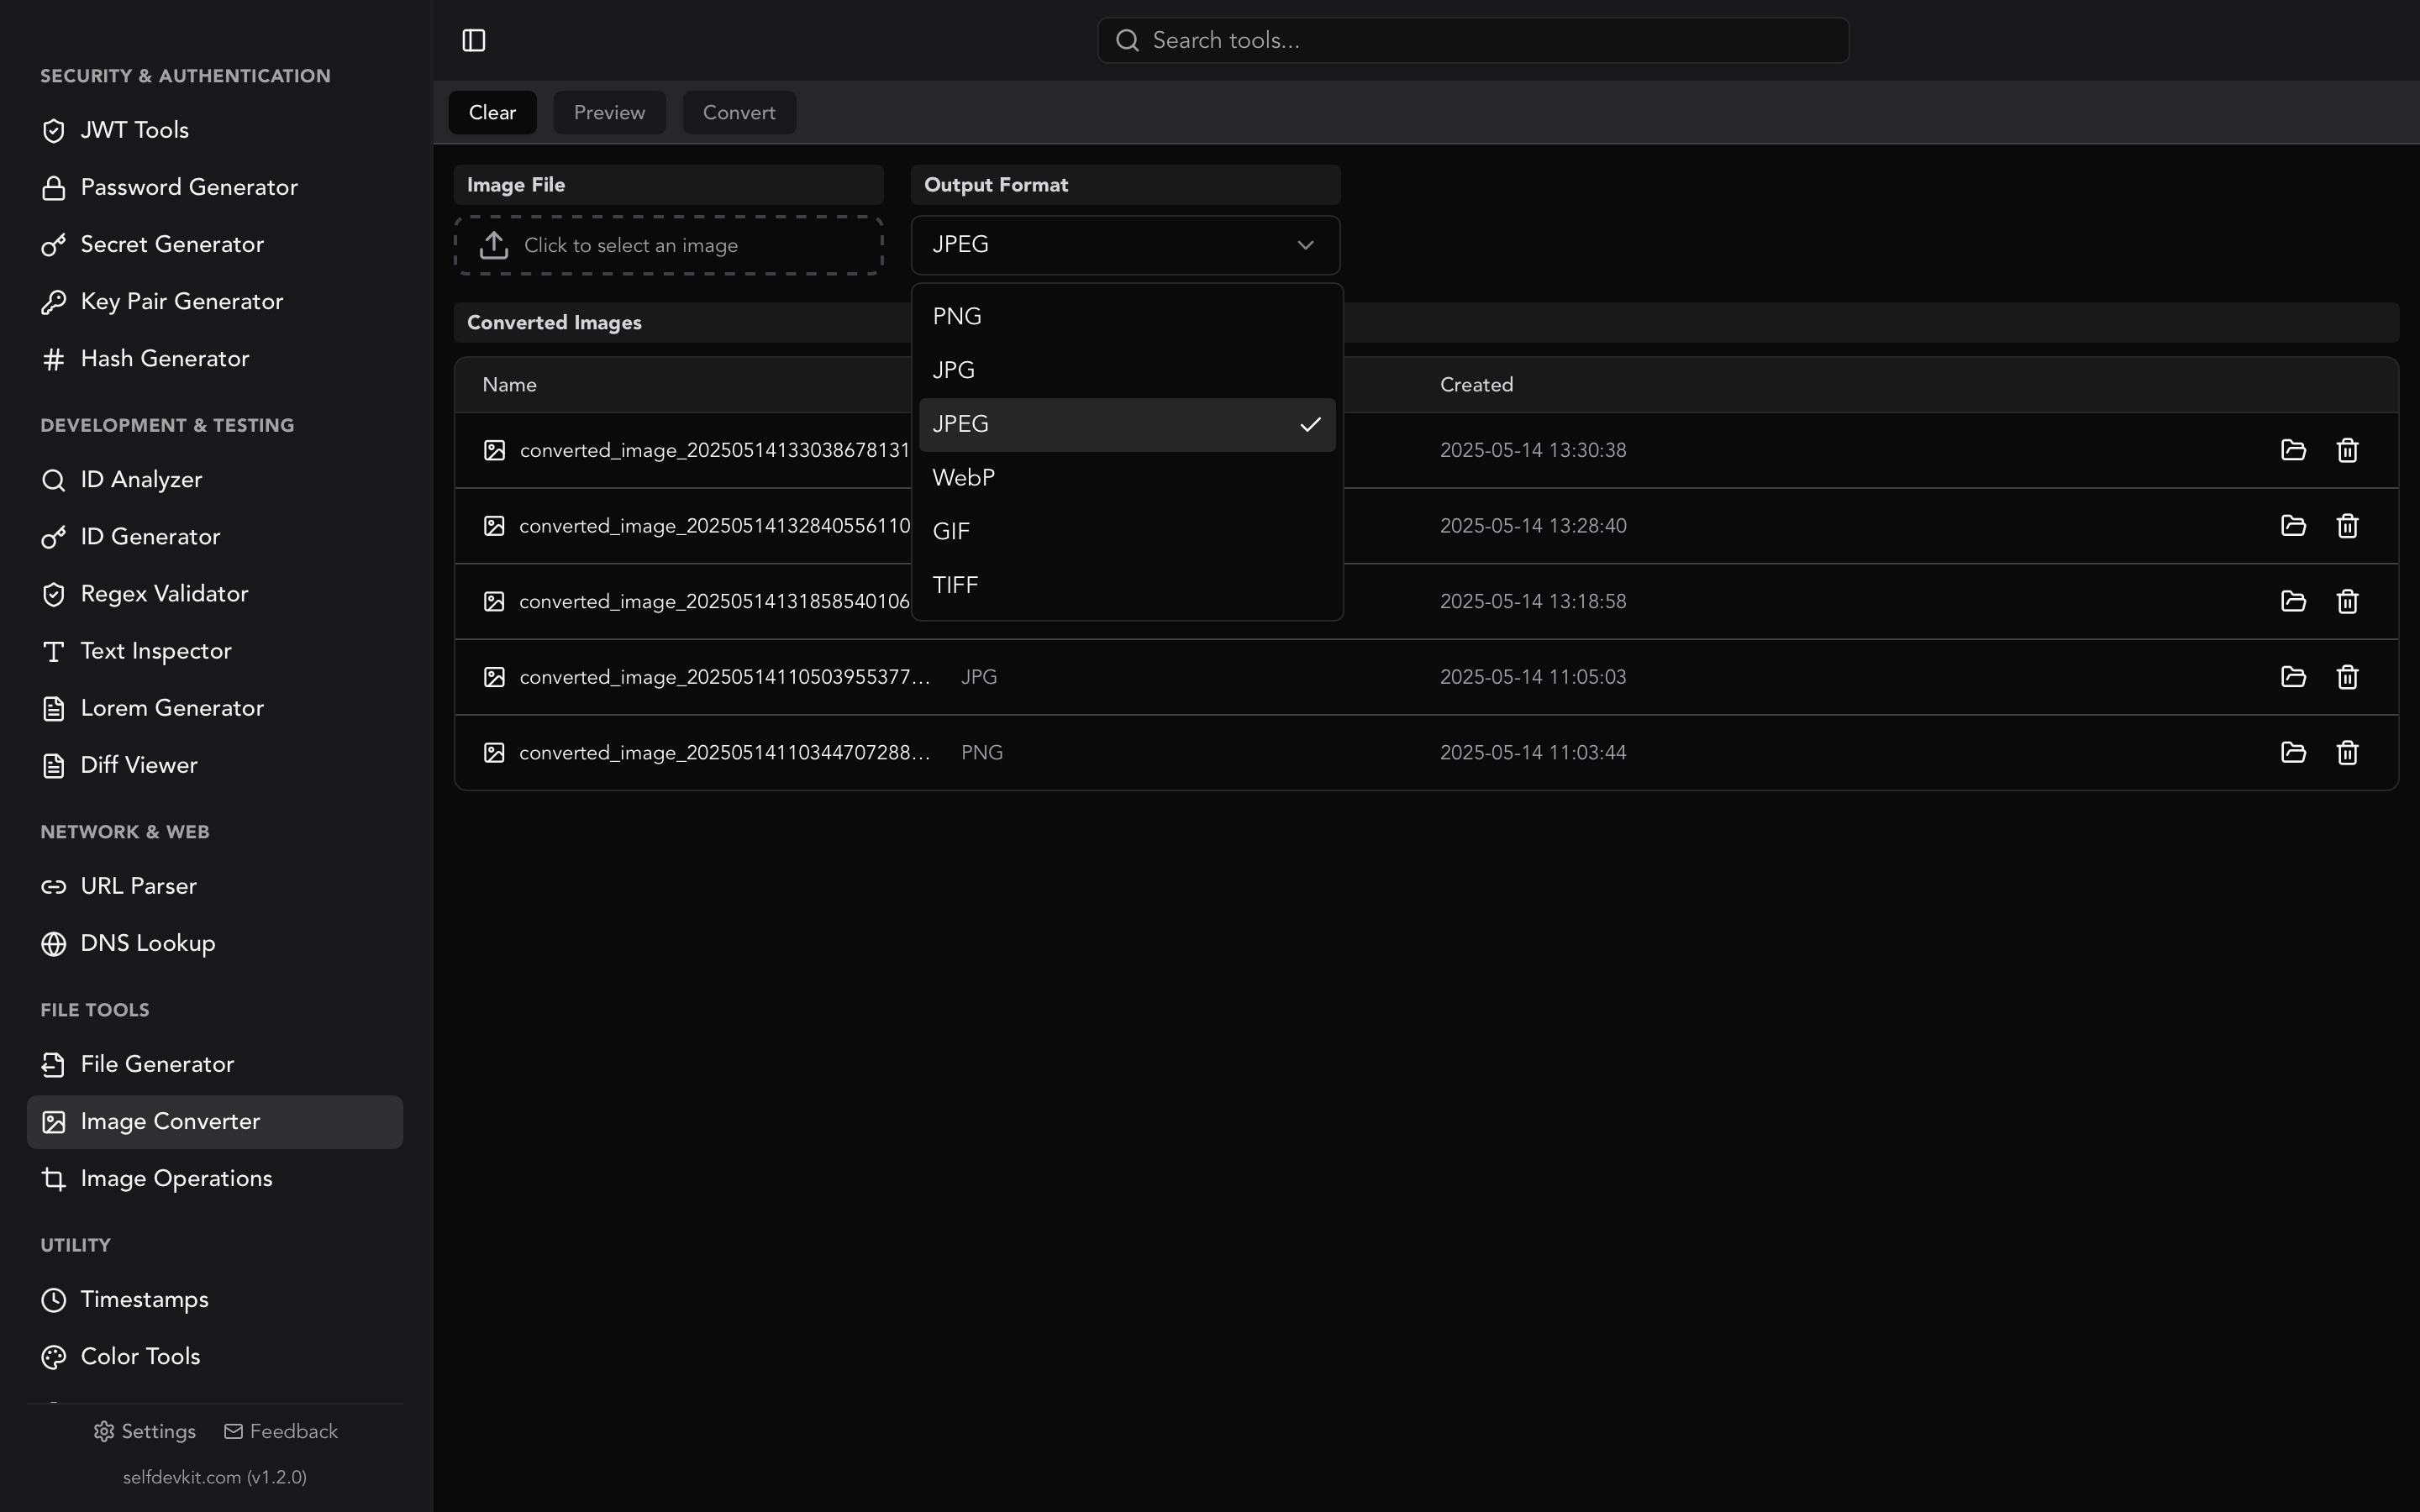
SelfDevKit's Image Converter runs entirely on your machine, built with Rust for native performance. It handles the formats developers actually need: PNG, JPEG, WebP, GIF, and TIFF.
What it does
- Convert between formats with maximum quality settings. JPEG conversions use quality 100 by default. WebP uses lossless encoding. PNG uses best compression with adaptive filtering.
- Batch convert multiple images at once. Drop a folder of PNGs and convert them all to WebP in one operation.
- Preview before and after so you can verify the output before saving.
- Manage converted files with a built-in history. View, open, or delete previous conversions without digging through directories.
Why it matters for developers
The image converter is part of SelfDevKit's 50+ developer tools, all running offline. That means you can convert images on an airplane, on a restricted corporate network, or in an air-gapped environment. No internet required, no data transmitted.
If you also work with images in code, related tools in SelfDevKit include the Base64 Image Tools for embedding images in CSS or HTML, and the Image Operations tool for cropping, rotating, and resizing.

All of this comes as a one-time purchase starting at $20, with free updates forever. No subscriptions, no per-image pricing, no usage limits. Check the pricing details for the plan that fits your setup.
Frequently asked questions
Does converting an image from PNG to JPEG reduce quality?
Yes. JPEG uses lossy compression, so converting from PNG (lossless) to JPEG always discards some visual data. For photographs, the difference at quality 80 or above is usually invisible to the eye. For images with sharp text, line art, or flat colors, the artifacts will be noticeable. In those cases, stick with PNG or use WebP lossless.
What is the best image format for websites in 2026?
WebP is the best default for web images. It is 25 to 34% smaller than JPEG for photographs and 26% smaller than PNG for lossless content, with over 97% browser support. Use the <picture> element to provide JPEG fallback for the remaining edge cases. For icons and logos, SVG remains the best choice when the source is vector-based.
Can I convert images without losing transparency?
Yes, but only if the target format supports transparency. PNG, WebP, and GIF all support transparency. JPEG does not. When converting a transparent PNG to JPEG, the transparent areas will be filled with a background color (typically white or black depending on the tool). If you need transparency and smaller files, convert to WebP lossless instead.
Is it safe to use online image converters?
It depends on what you are converting. For public, non-sensitive images, online converters are convenient. For anything containing client data, unreleased product screenshots, images with embedded GPS metadata, or files subject to compliance requirements, use an offline converter. Your files should not leave your machine unless you explicitly choose to share them. SelfDevKit's Image Converter processes everything locally with zero network requests.
Try it yourself
If you are tired of uploading images to random websites just to change a file format, there is a better way.
Download SelfDevKit and convert images between PNG, JPG, WebP, GIF, and TIFF. Offline, private, and instant.